From the Workshop
Making a motor: getting brick builds moving
Our N20 gearbox motor gives brick builds the turning force they need to move.
The car is built. Now it drives. That is a big moment when you have made something yourself. The wheels you fitted and the body you pieced together are moving under their own power. You can watch where it goes, see what needs changing, and bring it back to the building table.
The motor makes that possible in SparkBlocks. It gives children a way to add movement to the bricks they already love, then carry that movement into whatever they make next. The same motor can come out of a vehicle and go into a completely different build.
Two motors, different jobs
If you own an Intro Kit, the motor in the drawing may look different from yours. SparkBlocks has two motor types. The Intro Kit's R300 motor spins at high speed with less turning force, or torque. The N20 motor included in the Expansion Kit and Theme Builds uses a gearbox to deliver much more torque for driving wheels and moving mechanisms.
| Motor | R300 high-speed | N20 gearbox |
|---|---|---|
| Turning force (torque) | Less | Much more, from the gearbox |
| Comes in | Intro Kit | Expansion Kit and Theme Builds |
This article looks inside the N20 gearbox motor. Its strength calls for care: keep fingers clear of moving parts and switch off the power before adjusting a build.
Speed is only part of the job
Getting the speed and power right was one of the challenges in developing the motor. It is easy to watch an unattached axle spinning and think the job is done. Connect it to a model, though, and it has to move something.
Wheels have the weight of a vehicle resting on them. A walking mechanism has to move through each step. The motor needs enough turning force, or torque, to do that work.
Speed and torque describe different things. Speed tells you how quickly the axle turns. Torque describes how strongly it can turn against a load. The right combination depends on what you want the model to do.
The gearbox helps determine how the motor's rotation reaches the output axle. Motor and gearing work together to produce the speed and turning force available to the build. Finding a useful combination mattered because we wanted the component to work across different creations.
That is the design challenge behind the simple action a child sees: connect the motor, and their model moves.
Follow the parts in the drawing
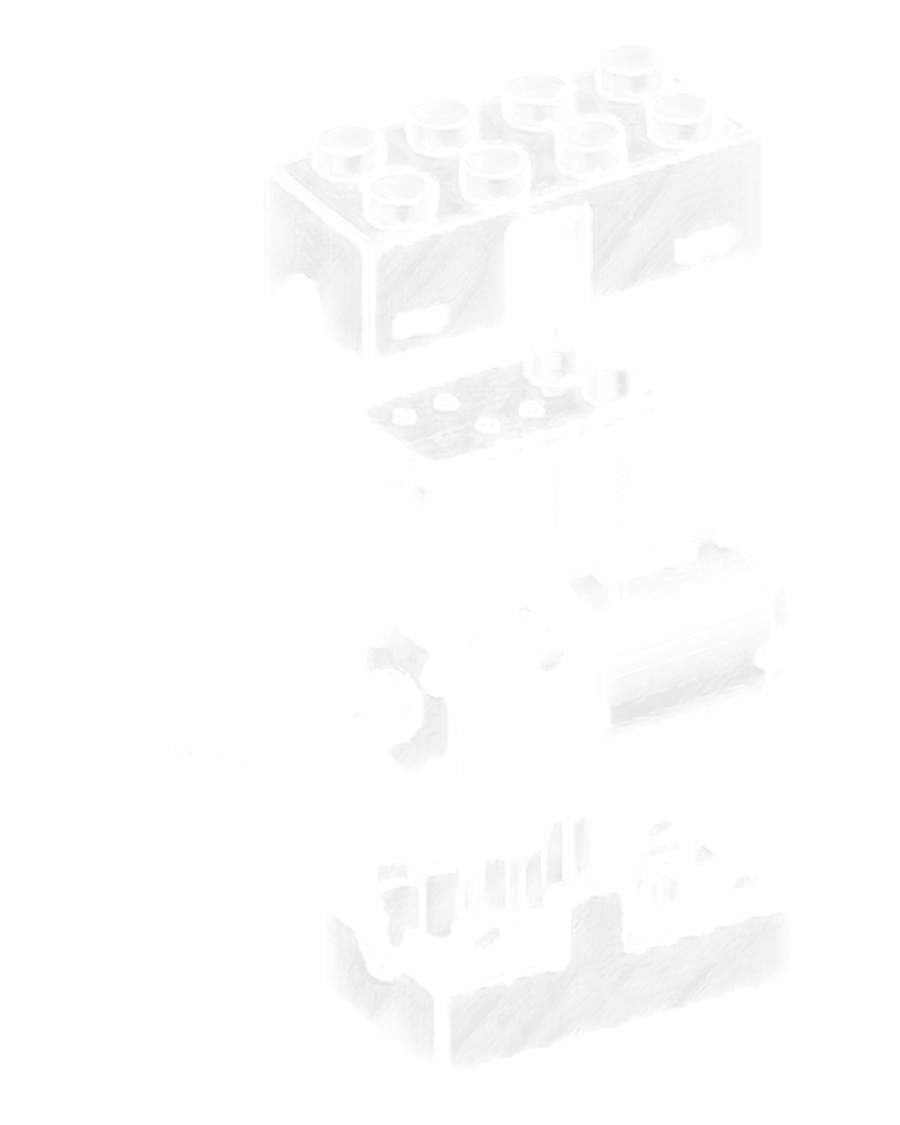
Our exploded N20 motor drawing separates the assembly so you can see how it fits together. Start at the electrical contacts, then follow the parts down through the brick.

Inside the part
-
Gold-plated contacts provide the conductive surfaces where electronic blocks meet. SparkBlocks carries power through these connections, using the familiar stud-and-tube arrangement of building bricks.
-
Spring-loaded pins compress when the pieces are pressed together and return when they are separated. They make electrical contact through a joint that builders can take apart and reconnect. The surrounding plastic positions them so the contacts meet.
-
The circuit board carries electronic components and connections inside the housing. It shares that limited space with the motor assembly, so the electrical and mechanical parts have to fit together.
-
The motor, gearbox and output axle turn electrical energy into movement the model can use. The motor creates rotation, the gearbox transfers it, and the axle connects that movement to the build.
-
The housing has two halves that enclose the assembly and fit into a brick build.
Ordinary bricks can form the chassis, support moving parts or give the model its shape. They do not carry electricity.
The electrical path stays within the SparkBlocks components and connections, leaving the rest of the brick collection available for building around it.
Getting the fit right
The housing had its own development challenge. Its two halves had to enclose the assembly and fit into a brick build, with the contacts positioned to connect properly.
0.01 mm
Getting that snap-together fit right required remaking the housing in 0.01 mm steps: a hundredth of a millimetre at a time.
That detail is easy to miss in the drawing. The shell looks like a cover, but its dimensions affect how the whole component sits and connects. The parts inside need room, and the outside needs to meet the next brick correctly.
Once it is assembled, the builder does not have to think about those adjustments. They have an axle they can connect to a model and a brick they can build around.
What will it move next?
In the Walking Ant, the motor's rotation becomes leg movement. Watching the model walk gives a child something to investigate as well as something to enjoy: they can follow the moving parts and see how their build works.
Plenty of motor builds never leave the table. In the 3-in-1 Mighty Machines Kit, the motor lifts marbles, turns a windmill or runs a candy dispenser. Even the Intro Kit's R300 motor can spin a fan. Because the machine stays put, a child can watch each part move and change it to see what happens.
Already have an Intro Kit and want to explore stronger motor-driven builds? The Expansion Kit adds two N20 gearbox motors. A Theme Build such as the Walking Ant includes an N20 motor for that model and uses your Intro Kit's power and other components. When you take the model apart, the motor is ready for another idea.
That is what makes it such an important part of SparkBlocks. A child can give their creature a face, decide how it should look, and then watch it walk. Getting the motor right helps make that last part possible.
Connect the motor, and their model moves.
Put an N20 motor to work

Expansion Kit
Adds two N20 gearbox motors to your Intro Kit for stronger motor-driven builds.
Explore the Expansion Kit
6-Legged Walking Ant
Comes with its own N20 motor and uses the power and other components from your Intro Kit.
See the Walking Ant